
The Crafting Diaries: Canvases for the Incapable

Author: Anna Ravenelle
Each week on “The Crafting Diaries” Anna Ravenelle scours Pinterest looking for exciting projects that claim the average crafter (and/or college student) should be able to accomplish and then sets out to prove them wrong. Usually failing in her crafting efforts, Anna works to flesh out the instructions of complicated projects so that you (yes, you!) can avoid failure where she did not.
Do you find yourself to be terrible at painting? Does everyone mock your desperate attempts at artwork? Despite all this, do you still long for homemade wall art for your dorm room? Maybe you’re already preparing for your Greek little next semester and find that every canvas you’ve made so far to come out to nothing more than a hot, hot mess?
Well then I’ve got the craft project for you!
Introducing: the Photo-Transfer Canvas! This project comes out looking like a professional piece of artwork made with lots of love and care.
Supplies:
- Stretched canvas in size of your choice (or a wooden block)
- Gel transfer medium (cannot be found in Ithaca’s A.C. Moore; I ordered mine on Amazon here
- Large paint brush
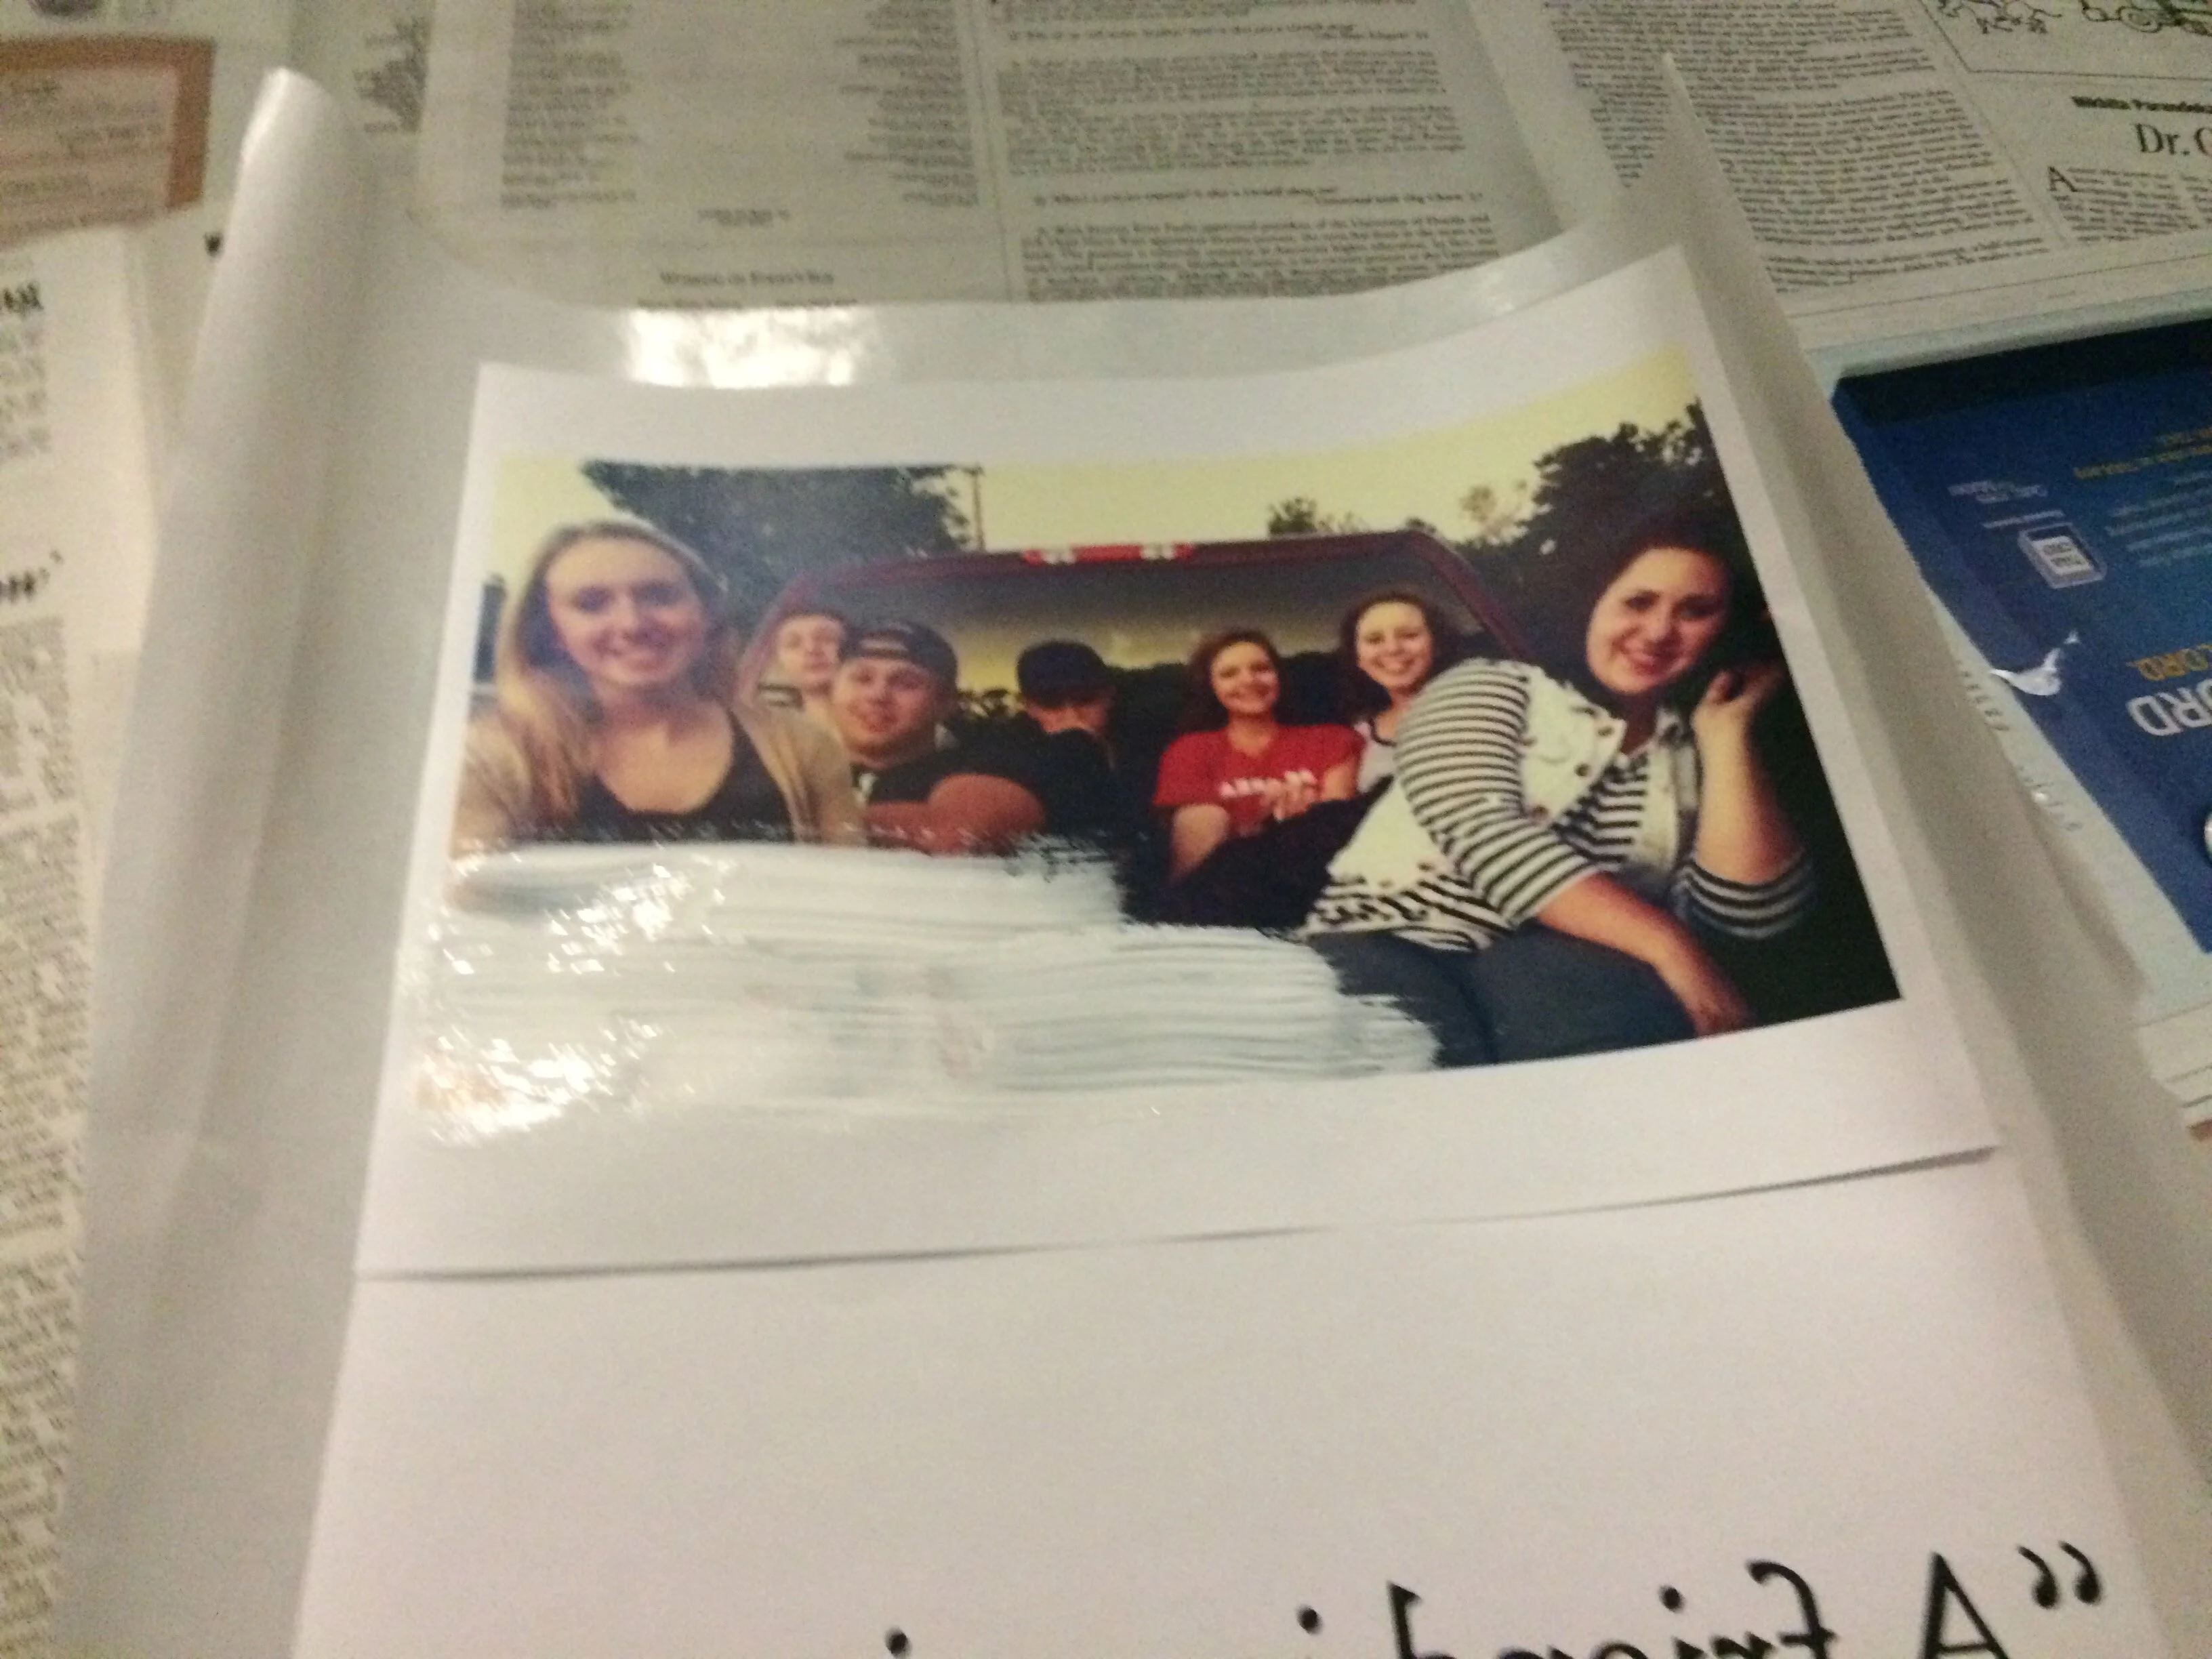
- Image printed with a laser-jet printer (Mine was a favorite photo of some friends back home).
- Water
- Newspaper or freezer paper (to cover the work surface).
- Old I.D. or gift card
Tips for picking an image:
- Make sure any words you want print are in mirror image or the final product won’t read correctly.
- Size the image so it fits your canvas almost exactly, given a small margin. I wasn’t thinking when I purchased mine so large, so I had to make do with piecing together two transfers to make the whole thing look decent.
- Don’t pick an incredibly detailed image.
- Making sure it is printed with a laser-jet printer is extremely important! Fortunately, most printers on campus are laser-jet.
After supplies are gathered and your image printed (which took me about two hours because the wifi went down halfway through my Net-Print job–thanks, RedRover), lay everything out on an issue or two of the Daily Sun as the image transfer medium will ruin your floor, desk, etc. if you don’t put a layer between them and the project. For added protection, I put down a piece of freezer paper as well.

Slope Media | Photographer: Anna Ravenelle
Once everything is laid out, paint a generous coat of gel transfer medium onto the image side of your print outs. If you are just doing a quote, then cover the entire sheet of paper with transfer medium. Otherwise, it will look funky later on, as there will be spots where the canvas shows through. I didn’t realize this, resulting in clear distinctions between where the canvas ends and the transfer begins
Slope Media | Photographer: Anna Ravenelle
Once your image is painted over generously, take the photo by the edges carefully and place it gel-side-down on the canvas. If it is bumpy or wavy it will warp the final product, so you’ll need to take an old I.D. or gift card and smooth out the bumps so the image can bind tightly to the surface you’re transferring it to. Make sure none of the image hangs over the edge or you’ll have some weird flappy things hanging off at the end (I say this from experience, trust me).

Slope Media | Photographer: Anna Ravenelle

Slope Media | Photographer: Anna Ravenelle
This next step is the longest: let it dry. All the guides I’ve read say about twenty-four hours is a good length of time to wait; I waited about 18 hours and it turned out fine.
Once your image has completely dried, you need to wet the paper-covered canvas and begin to rub the paper off. This process is extremely time consuming and also pretty annoying. It takes a long time to get it all off, and when the canvas is wet, it can be difficult to tell where the paper still needs removal. That being said, it can also be a great stress reducer if you’re feeling prelims are getting you down!

Slope Media | Photographer: Anna Ravanelle

Slope Media | Photographer: Anna Ravanelle

Slope Media | Photographer: Anna Ravanelle
You’ll know if all the paper has been removed if no more residual white particles roll off. With plain words it is very easy to tell where the paper is still attached; the lighter parts of images, not so much. Once the paper is all removed, your canvas is done! Feel free to seal it with a layer of mod-podge, add some paint accents, or whatever your heart desires.

Slope Media | Photographer: Anna Ravanelle
And if it doesn’t come out so great for you… well, no one has ever turned down a hand-made gift.

Slope Media | Photographer: Anna Ravenelle
crafting, diy, image transfer, pictures


